


A Step-by-Step Guide to Creating a Community Entrance Sign
A Step-by-Step Guide to Creating a Community Entrance Sign
Tuesday May 26, 2026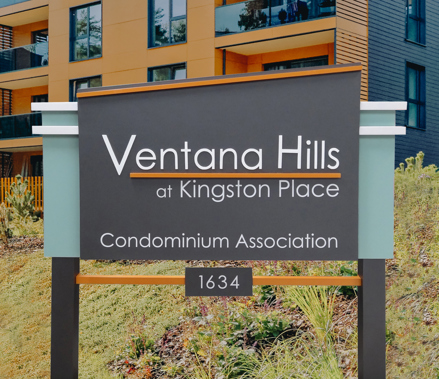 For homeowner’s associations, developers, builders, and property managers, a well-designed community entrance sign does more than mark an address — it creates a lasting first impression. A beautiful entrance can strengthen neighborhood identity, boost curb appeal, and encourage pride among residents.
Whether you’re installing a monument sign for a brand-new development or replacing an outdated structure, planning the project carefully can save time, money, and frustration. This guide walks through the key steps to help your community successfully design, purchase, and install an entrance sign that enhances the overall streetscape of your community.
Step 1: Appoint a Project Leader
Every successful sign project starts with clear communication. Designate one individual from the HOA board, management company, or community committee to oversee the project from start to finish.
This person should:
- Gather design ideas, pricing, and product information
- Coordinate with sign manufacturers and contractors, like Forsite
- Present recommendations to the board or committee
- Serve as the main point of contact throughout the process
Having a single liaison helps streamline communication, speeds up design revisions, and minimizes confusion during approvals.
Step 2: Define the Scope of the Project
Before requesting quotes, outline the details of your community entrance sign project. Establishing the scope early helps vendors provide accurate pricing and recommendations.
Determine Your Branding and Messaging
Consider what elements should appear on the sign:
- Community or subdivision name
- Logo, seal, or neighborhood emblem
- Messages such as:
- “Private Community”
- “No Soliciting”
- “Children at Play”
These features help establish the identity and character of the neighborhood.
Evaluate the Installation Area
If the sign will be placed in a landscaped entrance, measure the available space carefully. Be sure to account for:
- Existing landscaping
- Future additions like shrubs, stonework, or lighting
- Visibility from the roadway
Proper planning ensures the sign fits comfortably within the entrance design.
Decide How Many Signs Are Needed
Communities with multiple entrances may require several signs. You may also need:
- Directional or wayfinding signs
- Signs for separate neighborhood sections
- Matching secondary signage
Creating a simple site map can help visualize placement and installation requirements.
Determine Who Will Handle Installation
Many communities hire professional sign contractors for installation, permitting, and electrical work. However, some projects can be completed by an in-house maintenance team or community volunteers.
If pursuing a DIY installation, confirm the manufacturer provides detailed assembly instructions and installation guidance.
Explore Design Styles
Entrance signs come in a wide range of architectural styles and materials. Gathering inspiration photos online or creating a mood board can help narrow down preferences.
Popular styles include:
- Brick or stone monuments
- Decorative post-and-panel signs
- Contemporary aluminum signage
- Traditional or rustic wood-inspired designs
Choose a style that complements the surrounding homes and overall character of the community.
Consider Lighting Options
Lighting improves nighttime visibility and enhances curb appeal after dark. Common options include:
- Solar-powered lighting
- Low-voltage landscape lighting
- Integrated electrical fixtures
Lighting installation can often be coordinated with the sign contractor.
Single-Sided or Double-Sided?
Think about traffic flow and visibility:
- Single-sided signs are viewed from one direction
- Double-sided signs are visible to traffic approaching from both directions
Establish Size Requirements
Measure the allowable dimensions for the sign location and confirm local height or setback restrictions.
Review Local Regulations and Permits
Most municipalities require permits for monument signage. Determine:
- Permit requirements
- Zoning regulations
- HOA guidelines
- Final approval processes
Professional installers often assist with permitting, but DIY projects may require the community to handle approvals independently.
Step 3: Request Competitive Quotes
Most HOA boards and management companies obtain at least two or three quotes before making a purchasing decision.
When comparing proposals, look beyond the bottom-line price. Evaluate:
- Material quality
- Construction methods
- Paint and finish durability
- Warranty coverage
- Freight and shipping costs
- Production lead times
A lower quote may reflect lower-quality materials or shorter product life expectancy.
Requesting physical samples can also help the board evaluate quality before committing.
Step 4: Establish a Project Budget
After reviewing quotes, create a working budget that includes:
- Sign fabrication
- Installation
- Permitting fees
- Electrical or lighting costs
- Landscaping updates
- Contingency funds
Defining a realistic budget early helps avoid delays later in the process.
Step 5: Review Concept Drawings
One of the most exciting phases of the project is seeing the concept drawings come to life. Most manufacturers provide preliminary renderings as part of the quoting process.
During design review, consider the following elements:
Size and Scale
Ensure the sign proportions fit both the entrance space and the surrounding architecture.
Shape and Style
Common monument sign shapes include:
- Rectangular
- Oval
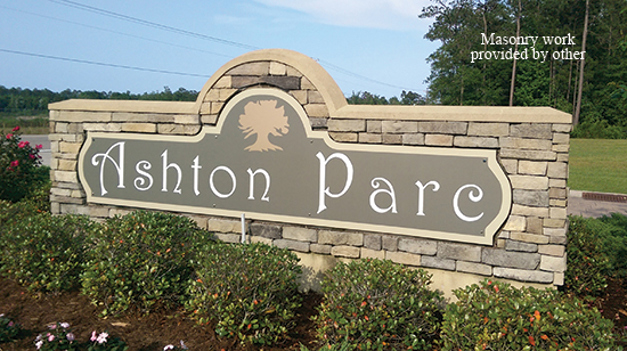
- Arched
- Scalloped
Color Palette
Select colors that complement nearby homes, landscaping, and community branding.
Mounting and Structure
Decide whether the sign will feature:
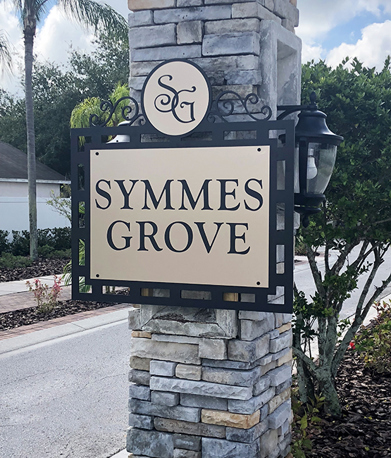
- Decorative posts
- Stone or brick columns
- Masonry monument walls
- Freestanding aluminum structures
Materials
Choose materials based on durability, maintenance, and aesthetics:
- Aluminum
- Stone veneer
- HDU (high-density urethane)
- Wood-look finishes
- Acrylic or dimensional lettering
Logos and Emblems
Incorporating a community logo or seal helps reinforce neighborhood identity and creates a polished, professional appearance.
Additional Messaging
You may also want to include:
- Clubhouse directions
- Office information
- Changeable message panels
- Community rules or notices
Step 6: Make the Final Selection
Once designs and pricing are finalized, the HOA board or committee can select the preferred proposal and award the contract.
Take time to evaluate:
- Product quality
- Vendor responsiveness
- Installation experience
- Warranty terms
- Overall confidence in the supplier
At this stage, the planning work is largely complete, and the project moves into production.
Step 7: Inspect the Shipment Upon Arrival
Production lead times for custom signs can range from a few weeks to several months depending on materials and workload.
When the sign arrives:
- Inspect all components immediately
- Check for freight damage
- Verify all parts and hardware are included
- Report any issues to the manufacturer or carrier promptly
Early inspection helps prevent installation delays.
Step 8: Complete Installation
Coordinate installation scheduling with your contractor or installation team. Before work begins, confirm:
- Permits are approved and posted
- Final drawings are available onsite
- Utilities are marked if excavation is required
A professional installation ensures the sign is secure, level, and compliant with local codes.
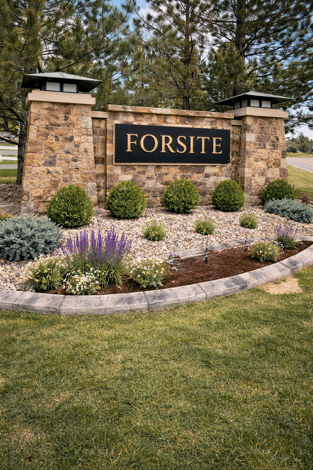 Creating a Lasting First Impression
No matter the size of your neighborhood or residential development, a thoughtfully designed entrance sign can make an immediate and lasting impact. Beyond improving aesthetics, a quality sign helps define the identity of the community and creates a welcoming first impression for residents and visitors alike.
With proper planning, collaboration, and attention to detail, your entrance sign project can become a valuable enhancement that serves the community for years to come.
Easy-to-Order Entrance Sign Solutions
Forsite offers customizable entrance sign systems designed to combine durability, flexibility, and curb appeal. Our Entrance Sign/Monument Signs feature attractive, budget options for neighborhoods, HOAs, subdivisions, and residential developments, along with business districts, municipalities, universities and retail developments, with a variety of styles, sizes, and graphic configurations available.
